Dirndl fitting

Even though I’m supposed to be working on this insane Chanel-style jacket project, I decided I just have to have a basic dirndl and some blouses (or at least 1) to go with it. This Fall. And preferably in time for Halloween, because it’ll be perfect for my costume (Edna Mode, the diminutive fashion designer from The Incredibles).

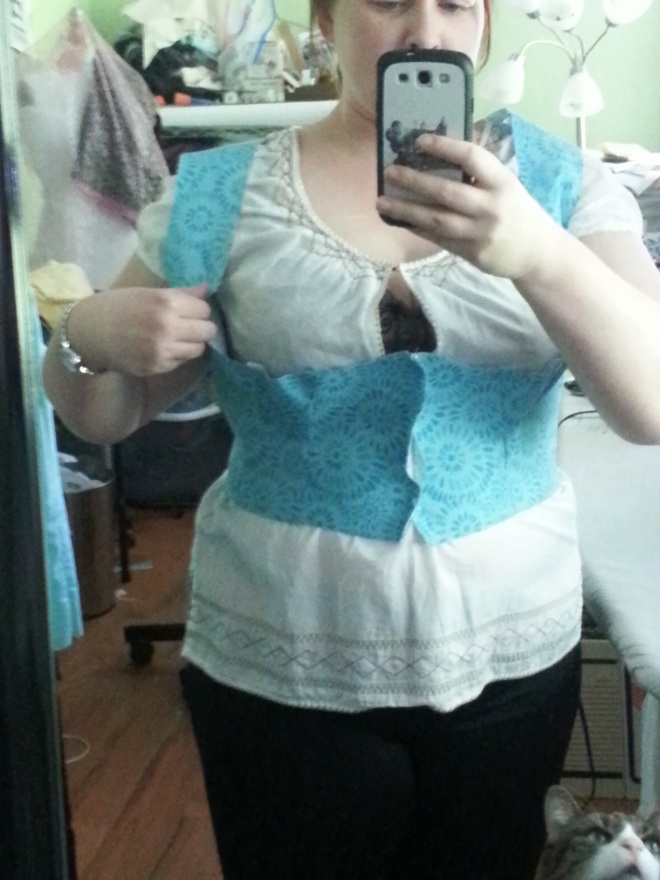
So before September ended, I cut apart the Burda dirndl pattern, measured and compared, figured it seemed pretty good as-is aside from my usual torso shortening between bust and waist, and cut out a mock-up from medium-weight linen from my stash. Wow. So not good as-is.

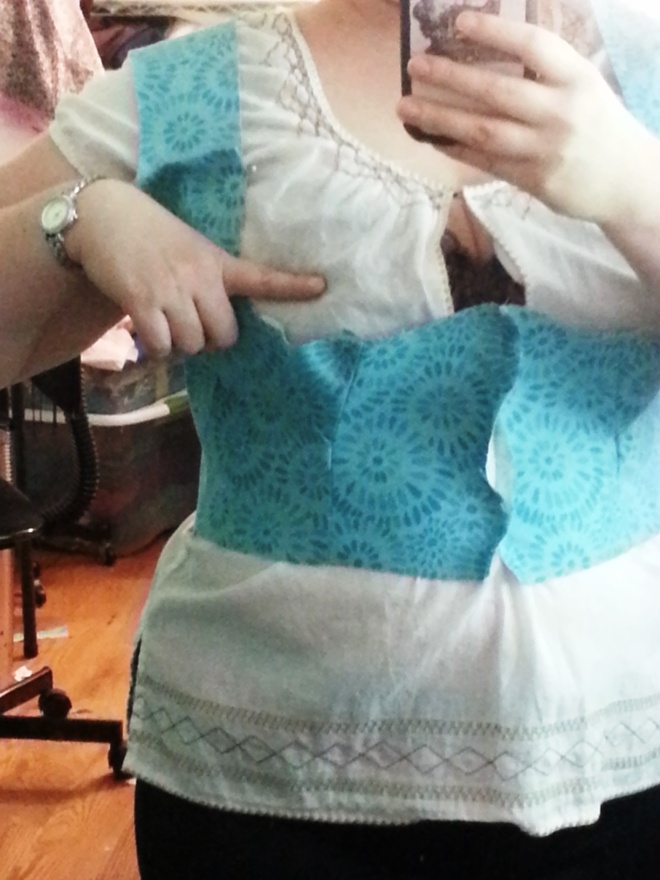
The bust gussets that provide shape to the bust area sat close to my waistline instead of cupping my bust as they should. They were SO LOW! And it had nothing to do with my shortening the waist length.

The neckline was WAY too low...

The neckline was WAY too low…

Turns out the pattern is drafted for someone not only taller than me, but with a bust set much lower than mine. Granted, mine begins practically below my chin, but I didn’t anticipate having to raise the dirndl neckline by 1 3/4 inches! Which is what I did.

This is how much the neckline had to be raised (including seam allowance).

This is how much the neckline had to be raised (including seam allowance).

Minus the 5/8″ seam allowance, this change made the finished neckline sit slightly above my bust point. It looked great. These photos show how I did it:
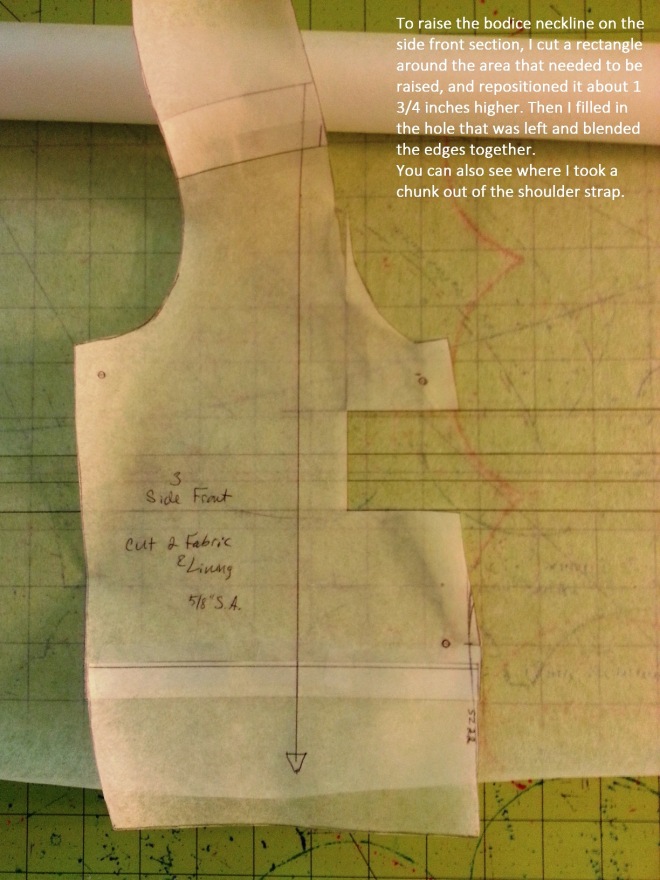
Raising the dirndl's neckline (side bodice).

Raising the dirndl’s neckline (side bodice). The gusset points (where the bodice seam intersects the gusset’s lowest point) also had to be raised.

After the 2nd muslin I also added about 1/4 inch at the waist on the side front/center front seam (the one that runs into the bust gusset) for a tad more breathing room through the belly. I want it to fit close, but not squeeze anywhere. Here’s what the new pattern pieces look like compared to the original, unaltered pieces.
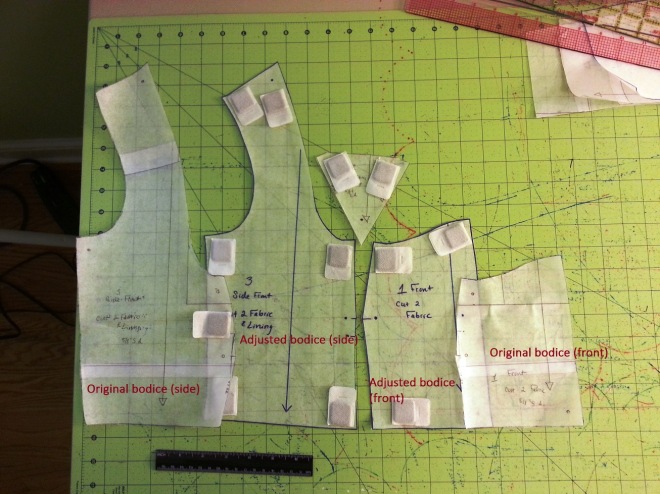
Both side front and center front bodice panels had to have their necklines raised about 1 3/4 inches.

Both side front and center front bodice panels had to have their necklines raised about 1 3/4 inches.

The gusset insertion method Burda gives is odd and it makes for a messy seam intersection at the bust gusset point (where the gusset’s two seams intersect with the side-front/center-front panel seam). The pattern has you sew one edge of the gusset to the side front section, then sew the other side of the gusset and the side front/center front seam in one step. Unfortunately, this catches the gusset’s previously sewn seam allowance in the new one at the gusset point, and it creates a clusterf^%#.

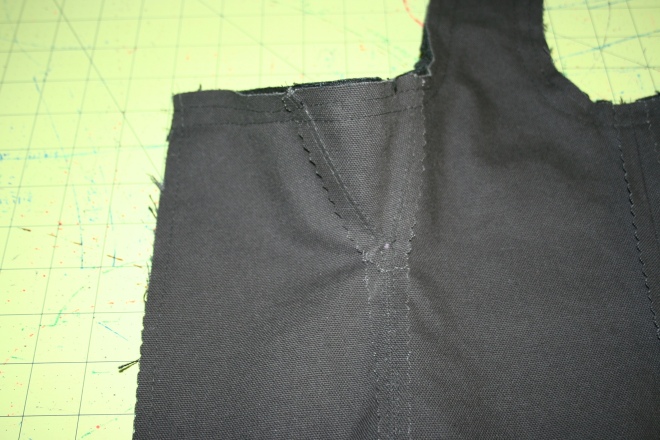
What I did instead was to sew the SF/CF bodice seam first, up to the gusset point, backstitching there to reinforce the point. Then I attached the gusset to the center-front panel and the side-front panel, trimming and pressing the seams as necessary to make the intersection lay as flat as possible. It’s helpful to reduce the stitch length near the intersection point for greater precision so you don’t over-step the point and muck it all up. This is somewhat similar to how I’ve inserted gussets into 19th century stays and it works much better. It looks SO much better. Make a note of it!

This is a MUCH cleaner gusset installation than that created by the pattern's insertion method.

This is a MUCH cleaner gusset installation than that created by the pattern’s insertion method. BTW, this is the interior view of my black linen dirndl; the fabric you’re seeing is a cotton duck interlining.

Next up: some more in-progress photos of the dirndl (particularly my screw-up with the shoulder seams because I added piping and didn’t think it through); and finally, the finished dirndl!

A jacket in the style of Chanel

I work at a magazine about sewing. We love garment sewing and patterns and fabric. And we get kind of crazy sometimes. Like, let’s-all-make-our-own-Chanel-style-jackets-by-December crazy. With all the projects that were already in my Fall lineup, I wasn’t really anticipating taking on something that was a “someday” kind of project, but here I am, getting ready to cut the muslin for my very first Chanel-style cardigan jacket.

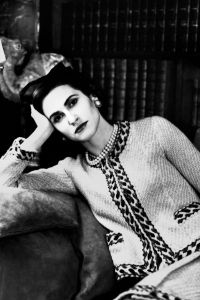
Gabrielle "Coco" Chanel, 1960, wearing one of her iconic cardigan suits.

Gabrielle “Coco” Chanel, 1960, wearing one of her iconic cardigan suits.

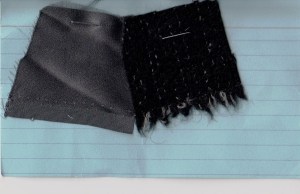
I’ll be using the newest Claire Shaeffer pattern from Vogue, #8991, a white-flecked black wool/nylon blend (mostly wool) boucle-type fabric from Hancock Fabrics, charcoal grey silk charmeuse for the lining, and gorgeous pewter and black enamel buttons. It’ll be fun, right? (Right??) Luckily, we’ve formed a support group to help us get through the challenge; it’ll meet bi-weekly.

Pewter and black enamel buttons from Treasure Cast.

Pewter and black enamel buttons from Treasure Cast.

White-flecked black boucle in a wool blend (mostly wool), and charcoal-grey silk charmeuse for the lining.

White-flecked black boucle in a wool blend (mostly wool), and charcoal-grey silk charmeuse for the lining.

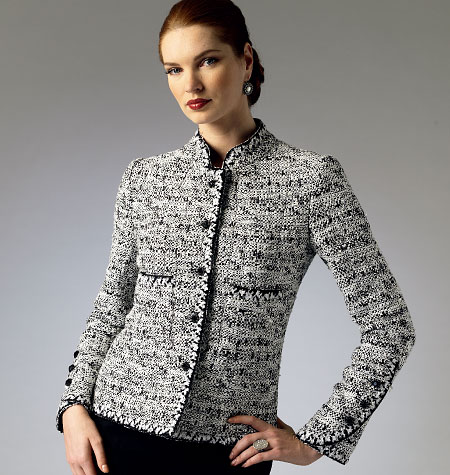
Vogue 8991, a Claire Shaeffer-designed pattern.

Vogue 8991, a Claire Shaeffer-designed pattern.

So far I’ve focused on planning and picking my fabrics and details, which is how I roll with sewing projects–get all the major decisions out of the way up front and have a clear design concept. Recently I cut the pattern pieces apart, and I’ll start tracing and adjusting them soon.

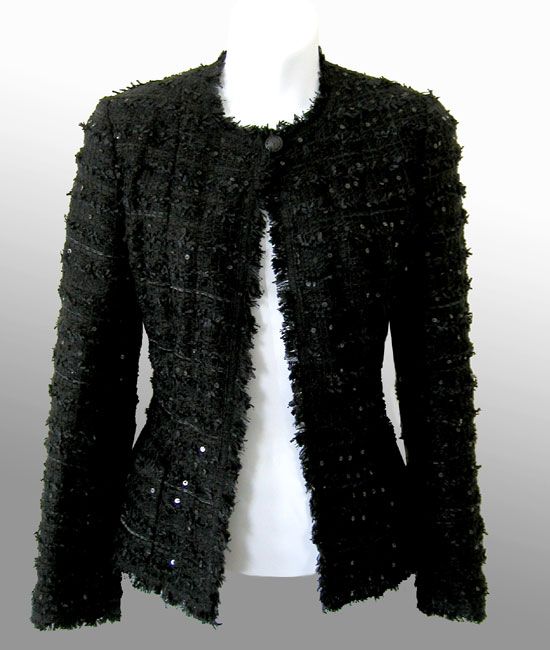
My primary inspiration is this black boucle jacket. My fabric is a bit smoother, has white flecks in the black, and is not sequined.

My primary inspiration is this black boucle Chanel jacket. My fabric is a bit smoother, has white flecks in the black, and is not sequined.

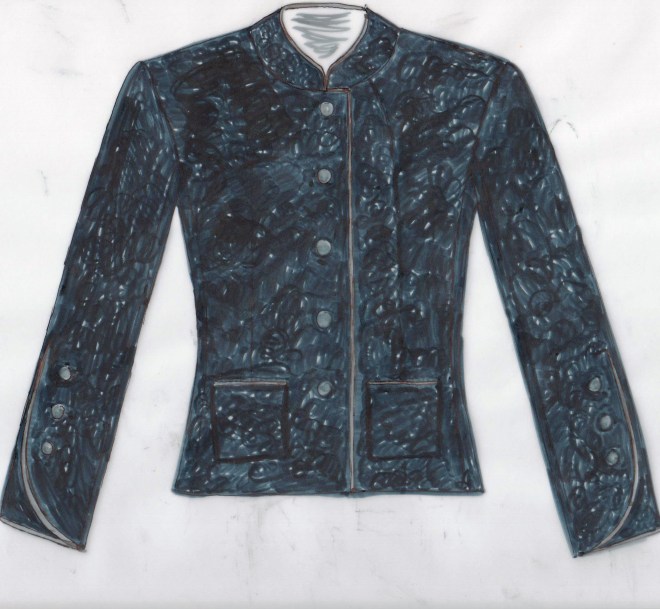
My goal is to make something sleek and modern and minimalist compared to the crazy overwrought fringe-fests of many Chanel jackets. I just don’t like a lot of fringe, although it works on many of the design house’s pieces. I don’t need to add bulk to my frame, and I prefer clean edges. So my design plan is to make this jacket without any additional trims, zero fringe, but to have the charcoal-grey charmeuse lining extend beyond the outer fabric’s edges, folding back to the garment edge to create a kind of frame effect. This is a trim alternative frequently used by Chanel.

My design sketch.

My design sketch. Note that I’ve placed the pockets at the hip instead of just below the bust. Seriously, the pattern envelope model’s breasts look like they’re blinking.

This pattern is a bit odd, as it has a princess seam that terminates in the NECK, not the more-typical shoulder or armscye. I’m just not sure how to do the necessary full bust adjustment on it. It’s probably going to take actually making a muslin of the pattern as-is and cutting/slashing the mock-up on my body to figure out how to make that adjustment. We’ll see…

Oh Caftan, my Caftan….

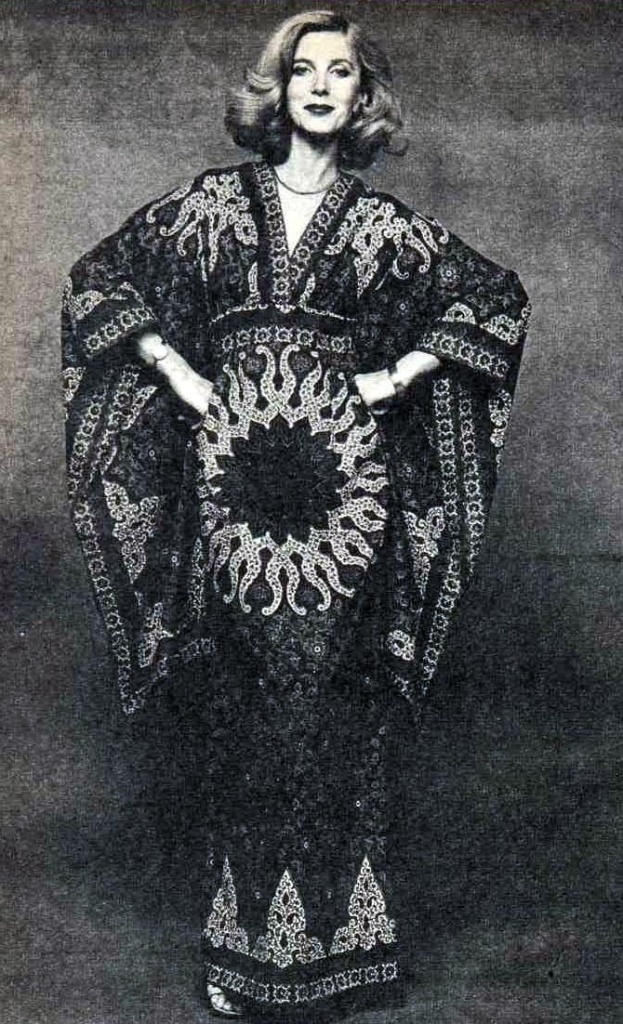
A fabulous vintage image from the late '60s or early '70s of a rockin' caftan! (https://www.pinterest.com/pin/43136108908514827/)

A fabulous vintage image from the late ’60s or early ’70s of a rockin’ caftan! (https://www.pinterest.com/pin/43136108908514827/)

Caftans… they’re just awesome. They’re like the ultimate maxi dress, but even simpler to make and more elegant. And far more fabulous… and yet also more than a bit kitschy. It’s like Elizabeth Taylor and Mrs. Roper got together for a pajama party and their loungewear got freaky while they were painting each others’ toenails. Or something.

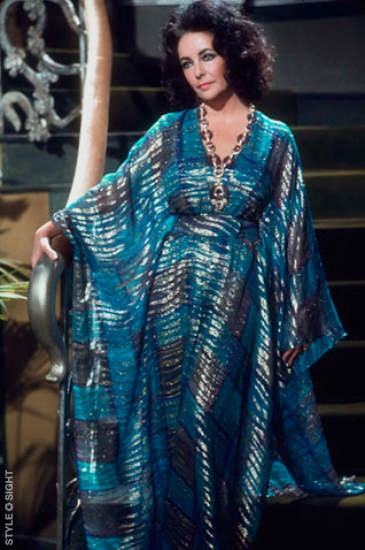
Elizabeth Taylor, 1974, in a gorgeous metallic caftan.

Elizabeth Taylor, 1974, in a gorgeous metallic caftan.

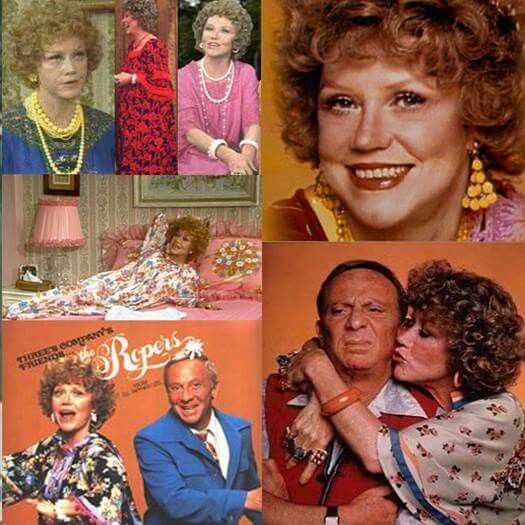
The indomitable Mrs. Roper, she of sitcom Three's Company, was always fabulously attired in a crazy caftan or muumuu.

The indomitable Mrs. Roper, she of sitcom Three’s Company, was always fabulously attired in a crazy caftan or muumuu.

Can you imagine Elizabeth Taylor and Mrs. Roper in the same room? Hmm. Maybe not, but their caftans could definitely party together.

One of my ambitious plans this summer was to sew a couple caftans for at-home loungewear or fabulous summer party wear. Yeah… that went bust. Like I even attend fabulous summer parties. Maybe one per summer. But I still like sewing things occasionally for my imaginary life.

I bought some beautiful rayon challis (because it’s awesome; it’s the best summer fabric, even better than linen), found an amazing early ’70s caftan pattern, and …. nothing. Other projects took the front seat, while my caftan fabrics waited patiently, all washed and ironed and folded on my dining room table.

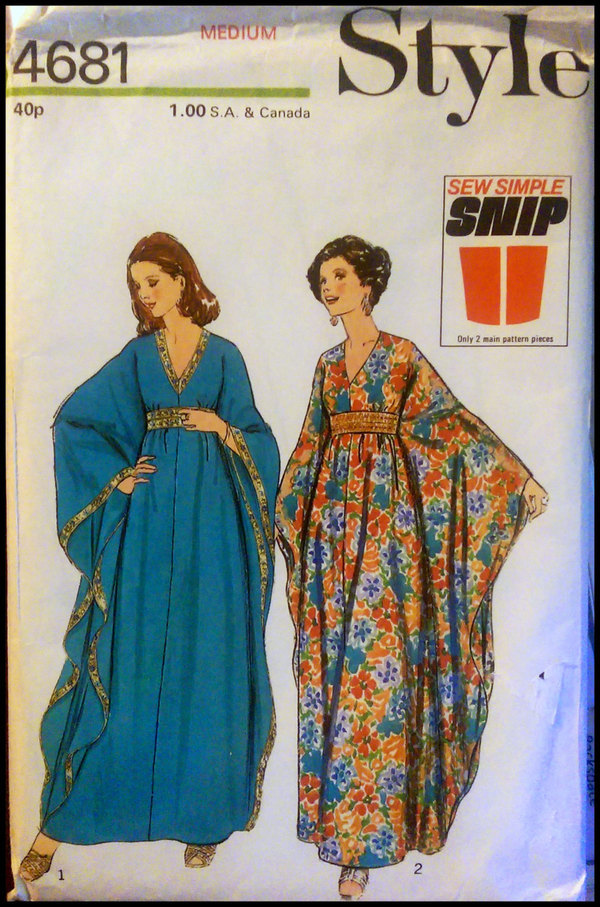
The perfect vintage 1970s caftan pattern. I think the company is British. Anyway, they called this a

The perfect vintage 1970s caftan pattern. I think the company is British. Anyway, they called this a “leisure dress”. How could I NOT buy it?

Then August rolled around, I realized the summer was almost GONE, and nary a caftan had I sewn. And an outdoor event for which a caftan would be a perfect outfit presented itself: a local land preservation organization’s sunset wine tasting fundraiser, to be held at the top of the highest hill in town with gorgeous views of the distant mountains. I mean, if I can’t wear a fabulous caftan to a Wine Tasting. Fundraiser. Outdoors. in the EVENING–when can I?

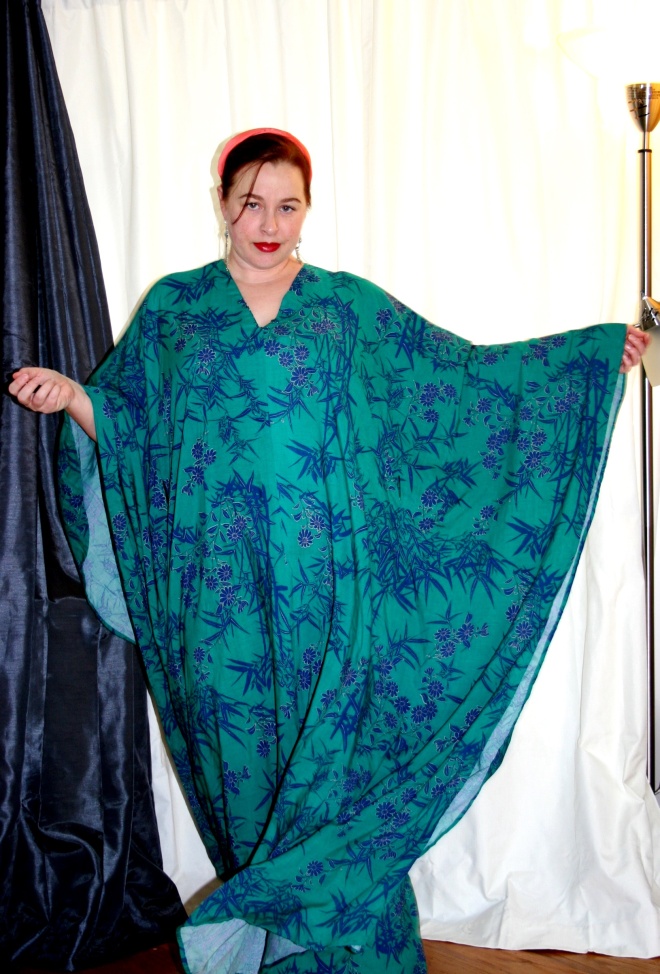
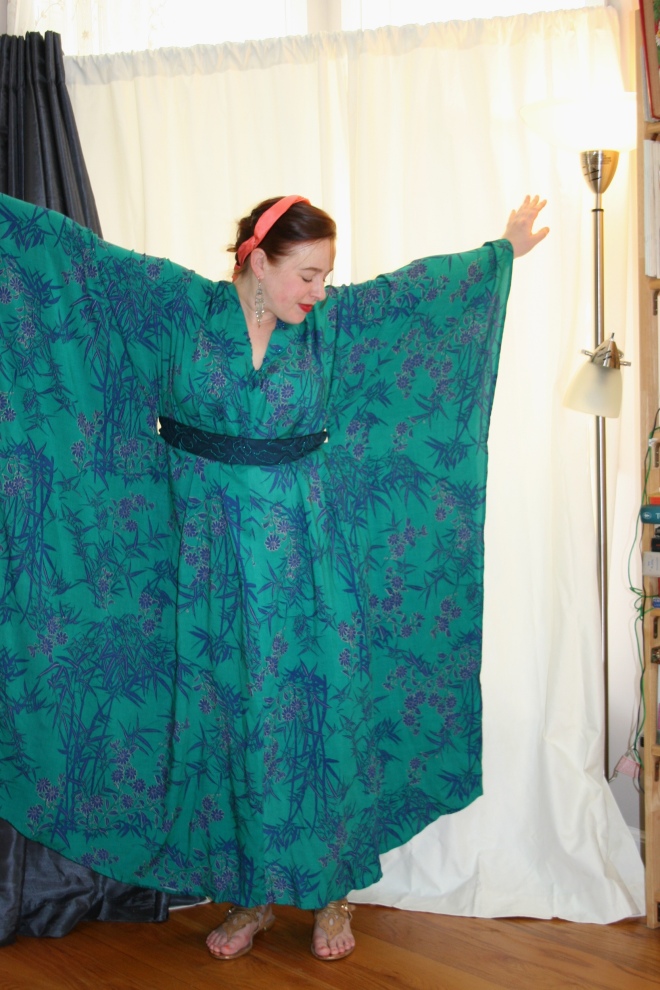
So I got to work on one. I chose a dark teal-green bamboo-printed challis. It took about a day, all told, to cut the large pieces, pin and baste the side seams, finish the neck and the sleeve/bottom hems, and then make the belt.

The finished caftan without the belt is quite elegant, just hinting at the shape underneath.

The finished caftan without the belt is quite elegant, just hinting at the shape underneath.

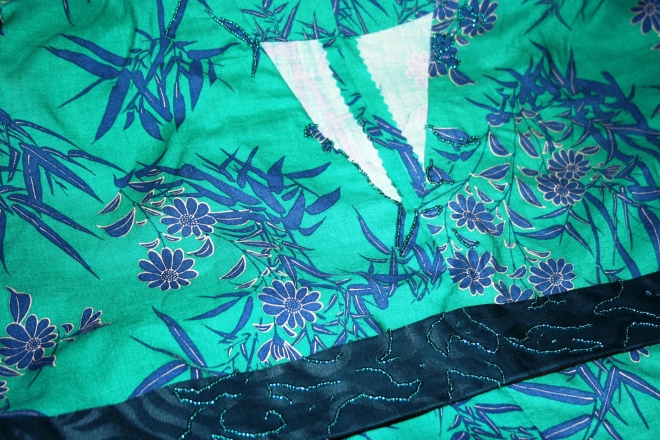
It was fabulous from the start, but I wanted a little more … oomph. So I got some beautiful seed beads and randomly sewed them atop parts of the fabric print around the neckline and onto the belt. Perfection!

Gorgeous iridescent peacock blue/green beads give a little shine and sparkle to the neckline in random patterns, and on the belt, following the pattern of the jacquard weave.

Gorgeous iridescent peacock blue/green beads give a little shine and sparkle to the neckline in random patterns, and on the belt, following the pattern of the jacquard weave.

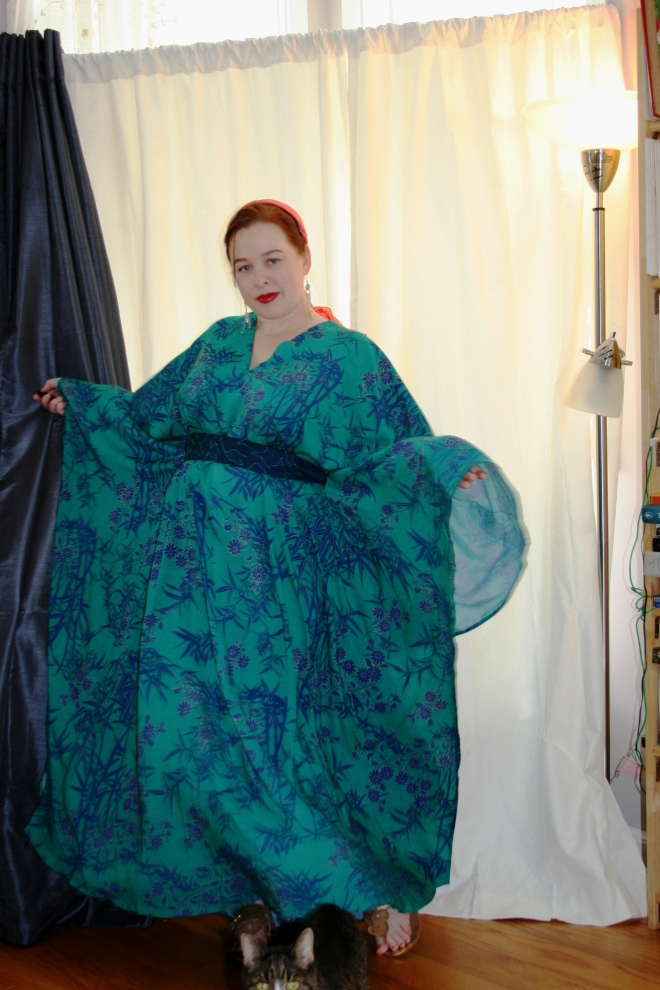
The caftan looks amazing without the belt, but I wore it with the belt for the fundraiser. And it was so comfortable and easy to wear and strangely elegant. Just like I knew it would be. I had a fabulous time at the fundraiser, first volunteering and then drinking wine with a friend, in my fabulous caftan.

IMG_7158

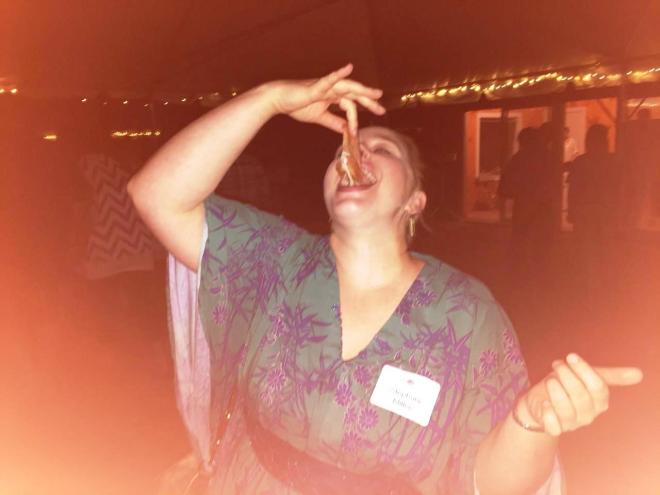
Yeah, so there was prosciutto as well as wine at the party...How decadent am I in my caftan?

Yeah, so there was prosciutto as well as wine at the party…How decadent am I in my caftan?

IMG_7166

I love it. I want more, but the next one (or two) will have to wait until next summer. After all, how many caftans does one woman need? It’s not as if I am Elizabeth Taylor or Mrs. Roper. But maybe one day!

Here’s my review of the pattern on PatternReview: http://sewing.patternreview.com/review/pattern/115345